
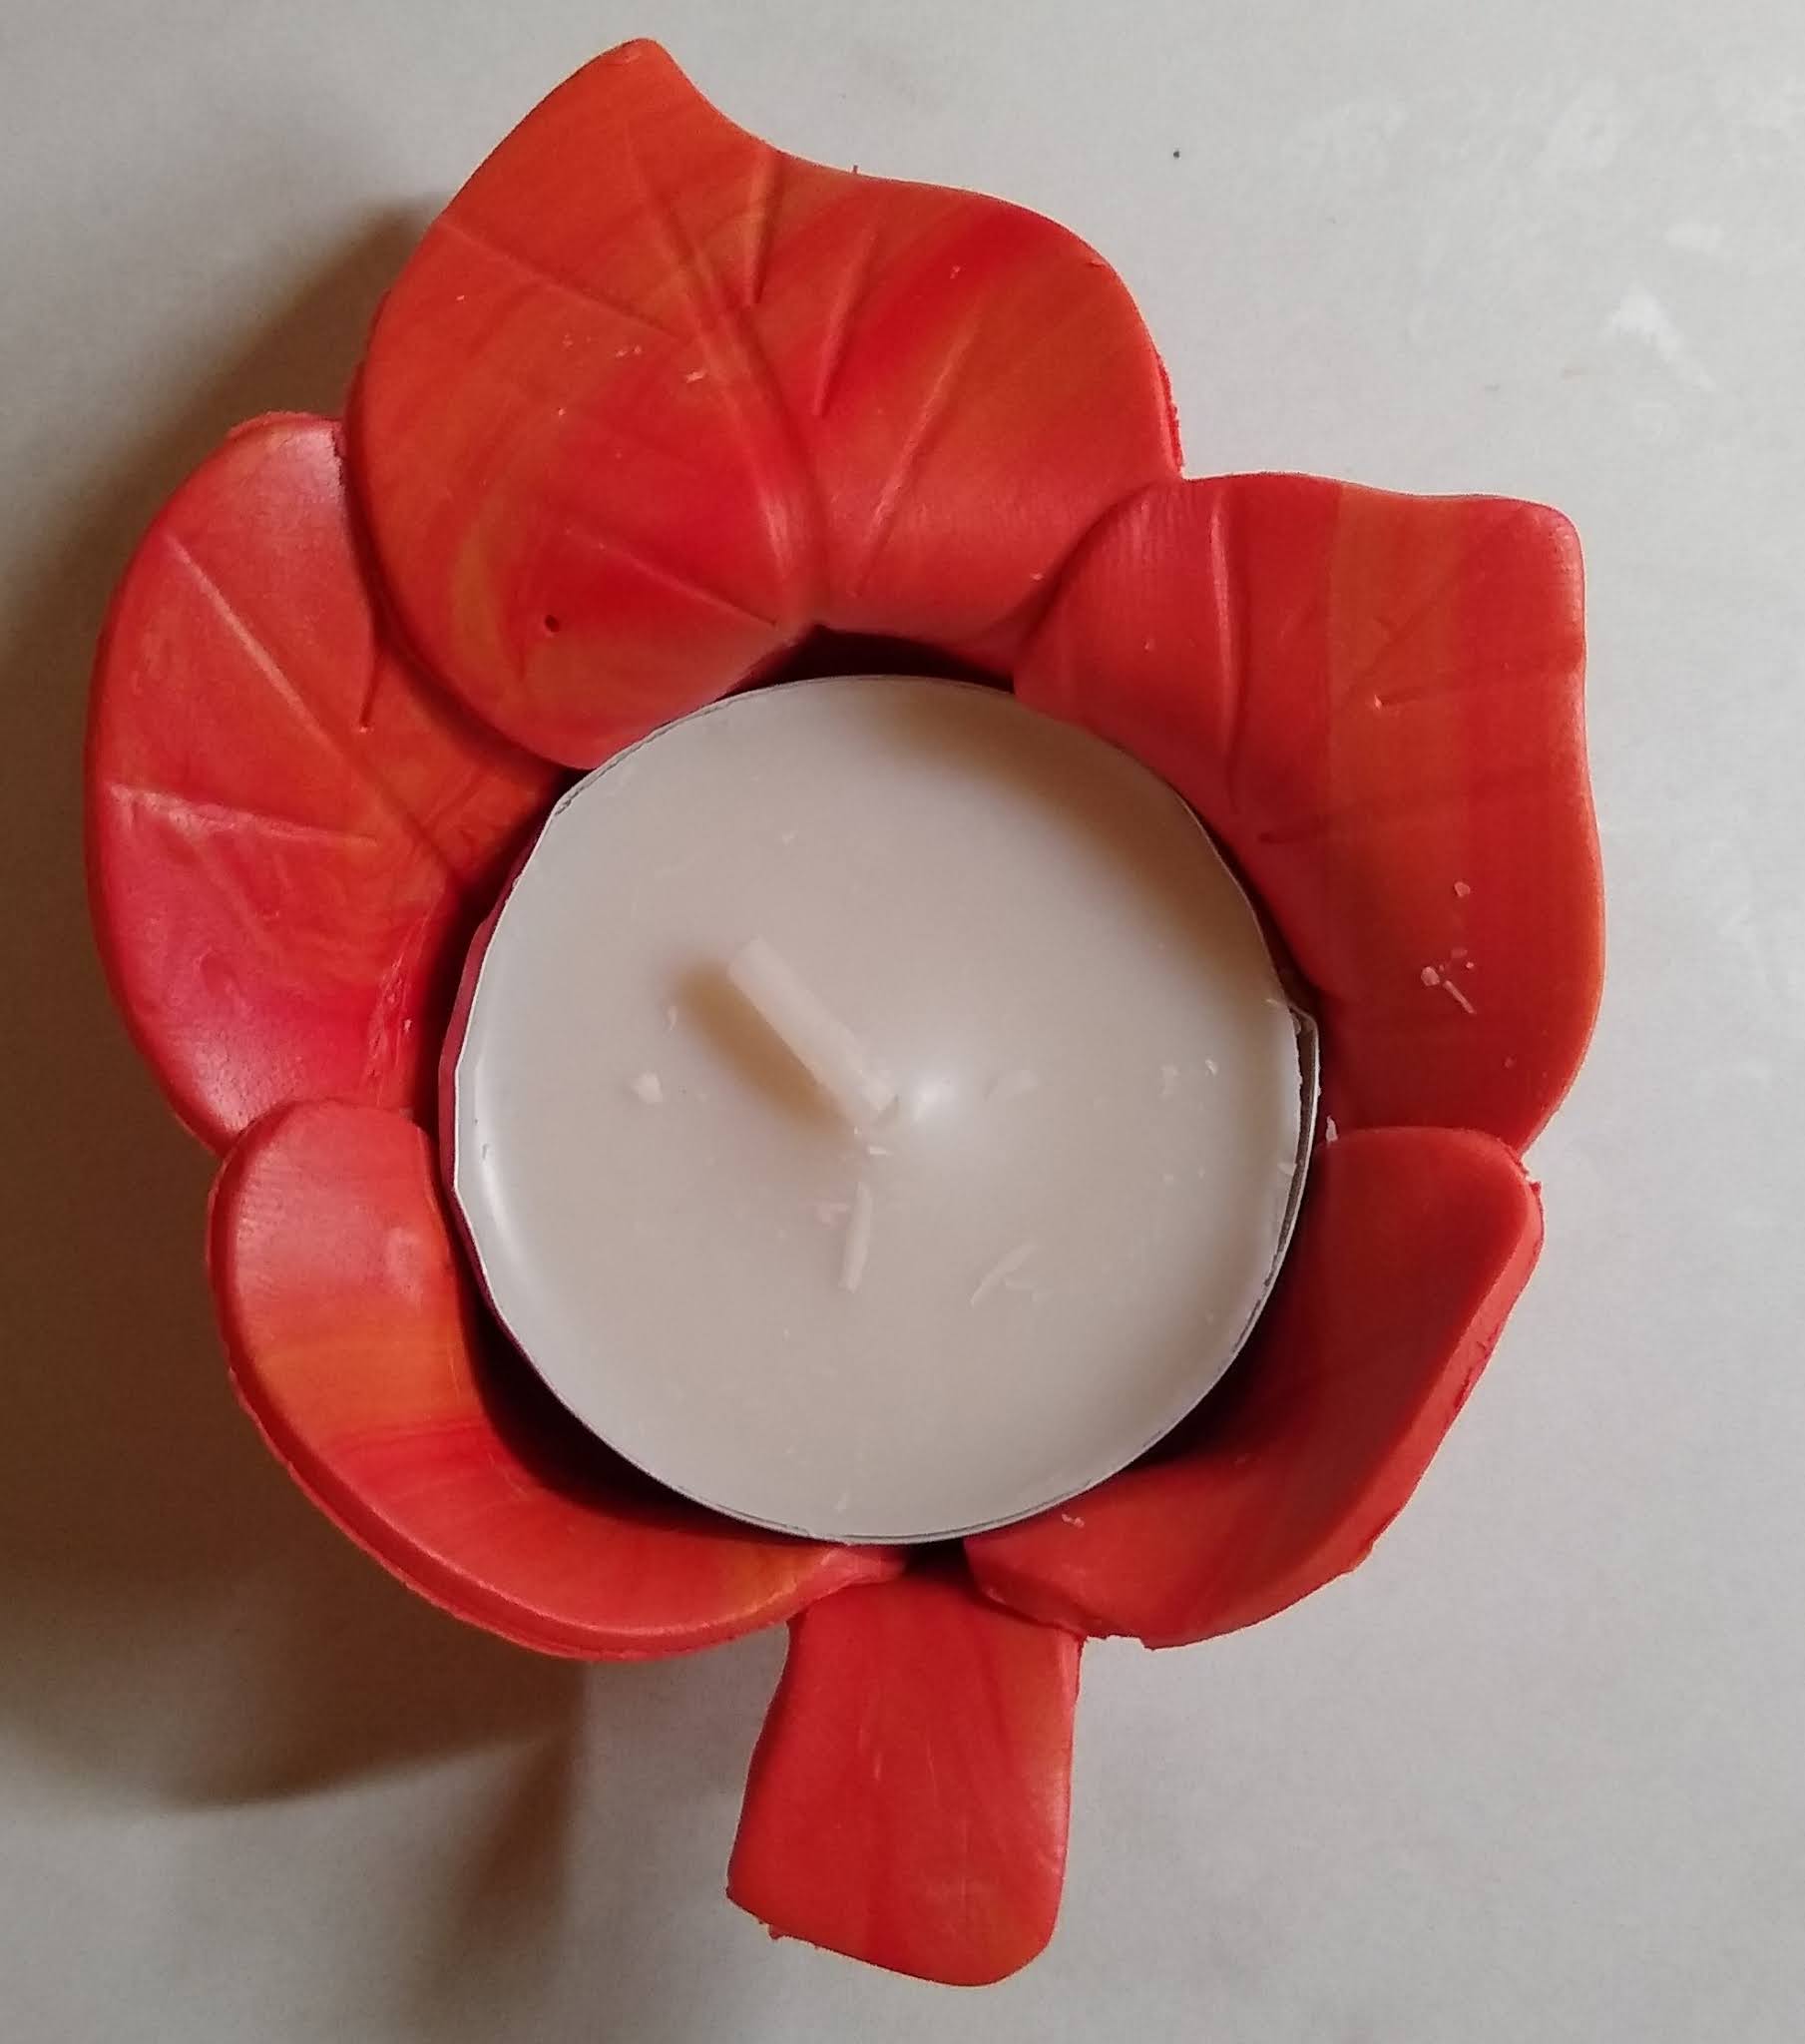
The days are getting shorter and the nights are getting colder. Fall is here! Warm up with these cute marbled votive candle holders.
What you’ll need:
- 2 parts orange clay
- 2 parts yellow clay
- 1 part red clay
- Leaf-shaped cutter (or real leaf)
- Votive candle
- Toothpick or other detailing tool
- Blades
- Pasta machine or roller
Directions:
1. Condition the orange, yellow, and red clays either by hand or in your pasta machine.
2. Take all three conditioned clays and marble them together—stop when you like the marbled pattern.


4. Using your leaf-shaped cutter, place it on the clay and cut out the shape. Alternatively, you can gently press a real leaf into your clay and use a craft knife to cut around the edges.

6. Using your flexible blade, gently remove the leaf from your work surface.
8. Remove the votive from the clay and re-shape any of the edges you'd like. Note: you can
place fiberfill material under the edges to help stabilize them while baking.
place fiberfill material under the edges to help stabilize them while baking.
9. Bake at 275°F for 30 minutes.

10. When cooled, decorate your votive holder in any way you like!
No comments:
Post a Comment