
In this month's tutorial, we'll show you how to make a cozy cable knit sweater design!
Now that it's colder, what better way to warm up than creating a cozy cable knit sweater design in your polymer clay creations!
What you'll need:
- Clay machine
- Acrylic square (flat)
- 1/2 pack of clay (color of your choosing)
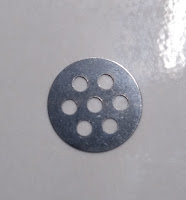
- Extruder with 7 round holes
- Tissue blades
- Cutter of your choosing
- Embellishments of your choosing
Directions:
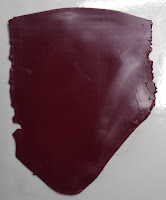
1. Condition the clay with your clay machine. We kept each of our 1/4 pieces separate during the conditioning process.
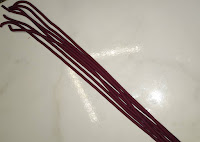
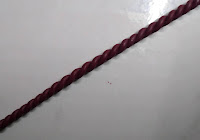
7. Try to keep your twists the same tightness as much as possible. Once you've twisted those two ropes together, set them a side.
8. Take two more ropes and repeat the twisting process, but twist in the opposite direction of your first ones.
9. After both sets of ropes are twisted, align them together at one end and compare the tightness of the twists. You want them to be as close to the same as possible.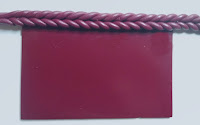
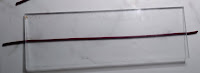
you reach the end of your base sheet.
12. Using your tissue blade, clean up the edges and remove any excess clay.
13. You can use your acrylic square to gently apply pressure to help the pieces fuse together.
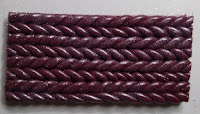

16. Place your pieces on a baking surface. Be sure to bake your clay at 275°F for 30 minutes or the recommended baking time for your specific brand of clay.
Once cooled, you can sand and add any findings to complete your cozy sweater creations (we made earrings)!
No comments:
Post a Comment